
Acorn Pocket Book I and II
To this end they commissioned Psion to produce the Pocket Book for them, and later the Pocket Book II.
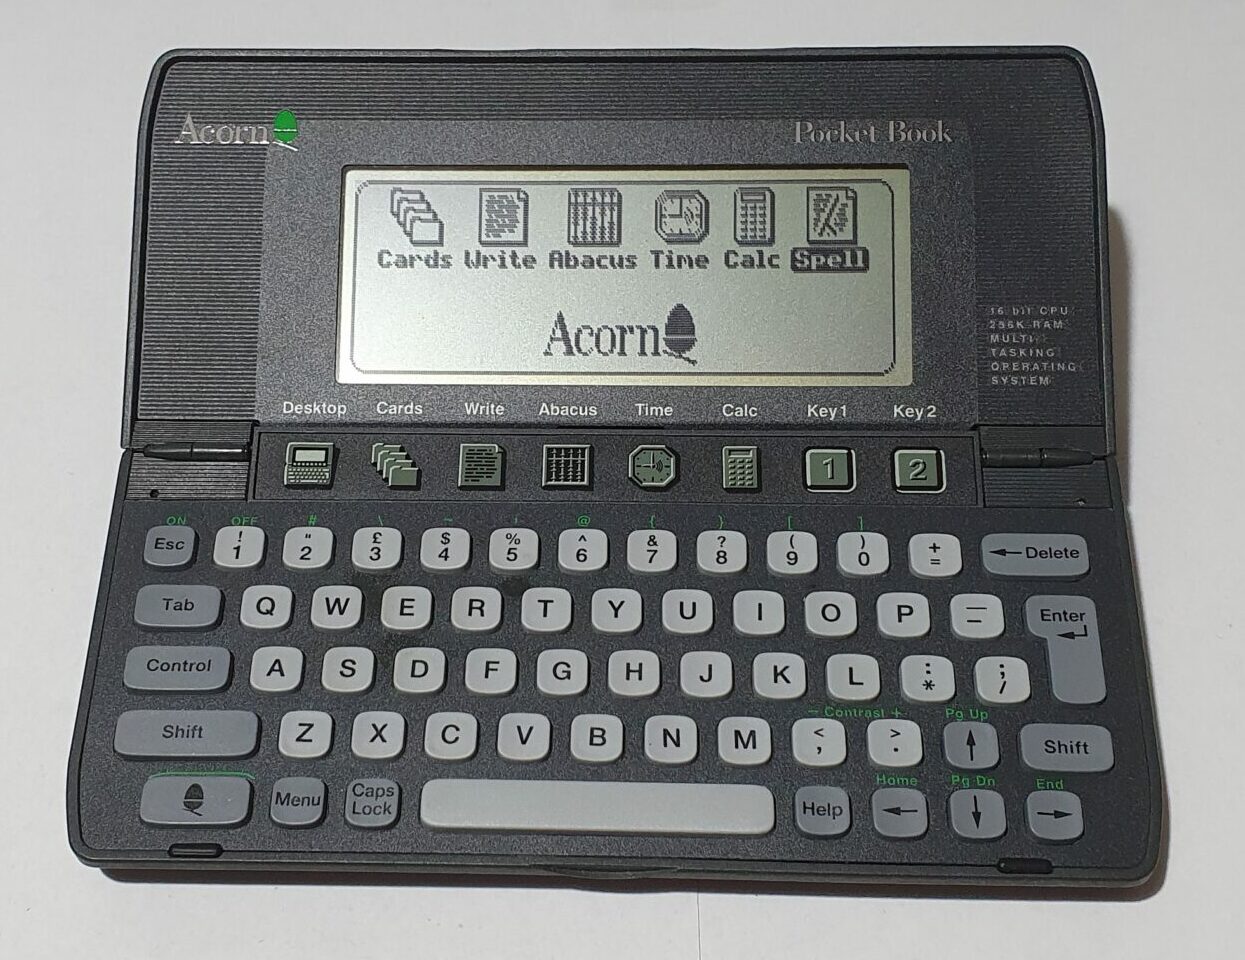
Hardware
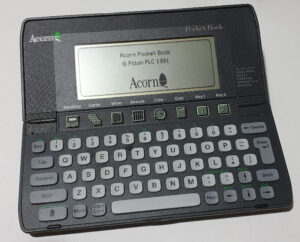
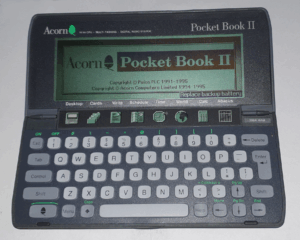
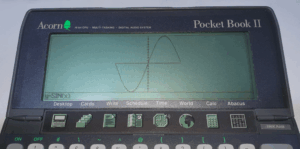
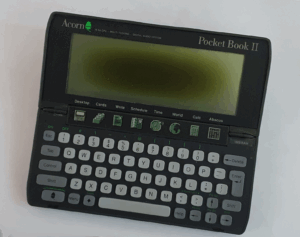
The Pocket book is minor variation on Psion’s Series 3. The screen and the case are identical. The case badge has, obviously, been changed and some of the writing on the inside. The Pocket Book II was a similarly modified Series 3a.
The keyboard (on both) features an Acorn key in place of the Psion key and the associated yellow legend is green instead.
The shortcut application keys are also different, which reflects the changes in the built-in applications.
Software
The main differences between the Pocket Books and the Series 3/3a are in the built-in programs.
The following applications have been removed from the Series 3 to get the Pocket Book: Agenda, Program and World. Psion’s spreadsheet had been included, named as Abacus. Other applications also acquired new names: Write (Psion’s Word), Cards (Data) and the system screen was called the Desktop.
The main change that always surprised me was the removal of the OPL programming language – of course translated OPL could be run under RunOPL which was included just not edited.
Acorn being an educational computing company I would have expected to have a programmable Pocket Book. In the best scenario, they would have ported BBC BASIC to the Pocket Book, but I can see that would have cost a lot of work.
The Pocket Book II likewise differs from the Series 3a in the included software. Again System is renamed Desktop, Sheet is now Abacus, Word is Write and Data is Cards. This time, Program is included allowing the writing of OPL software on the Pocket Book II.
Also, there is the addition of Plotter. This seems to be a graph plotting program, which turns the Pocket Book into a graphing calculator (very handy for students).
Other equipment and software
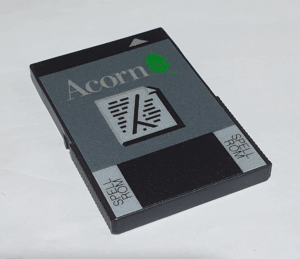
As well as the Pocket Book being a rebadged Psion Series 3, Acorn also commissioned the A-link as a rebadged 3-link and software like Spell was also released with an Acorn badge.
Repairs etc.
The Pocket Book I purchased didn’t need any work on it, but the Pocket Book II was a different story.
The Pocket Book II’s that appear on Ebay tend to be either expensive or broken when they even appear at all. Given that, I bought one as working (with no broken hinges!) but with problems with the polarising filter. It’s usable, but the display polarisation changes in the middle of the screen, meaning you have to adjust the screen contrast and move your head around to read everything. Quite annoying.
After I’d had it for a little while, the left hinge broke. This seems to be the one that fails first. I glued it back together.
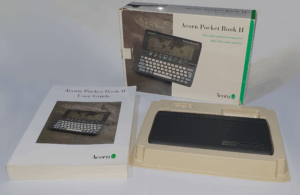
The screen annoyed me enough until I found one for sale on Ebay with a box and user guide but with a possibly broken hinge. It wasn’t broken in the usual way but according to the auction details it just didn’t open fully. The pictures showed it looking just fine, so I took a punt and bid on it… and won.
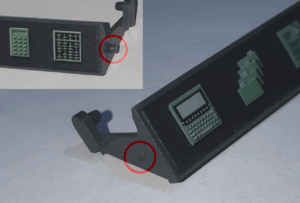
When it arrived, it was in immaculate condition. The manual looks like it hasn’t been used, the box isn’t in bad condition either (just a bit scuffed around the corners). It turns out that the problem with the hinge was with the button bar.
On the Series 3s (and the Pocket Books), the application button bar is screwed into the battery compartment, and that is cleverly attached to the hinge. When the clamshell is opened it rotates into place. The pivot on that part was broken on the left hand side. Why is it always the left hinge?
I took apart both Pocket Book IIs and swapped the whole one from the one with the faulty screen for the broken one in the newer machine.
That was fiddly!
It involved removing the battery compartment, then the keyboard surround, then the keyboard rubber mat, then the circuit board underneath it, then removing the springs that give it it’s closing tension and finally the bar itself. The plastic keytops are individuals, and not stuck to the rubber mat, so that took some care and attention, too!
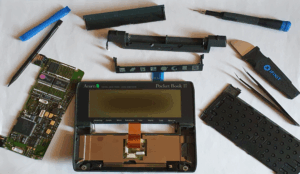
In the end I got it done, but it took me ages to get the mainboard back in, as the connector on (you guessed it) the left side was a tight fit!