
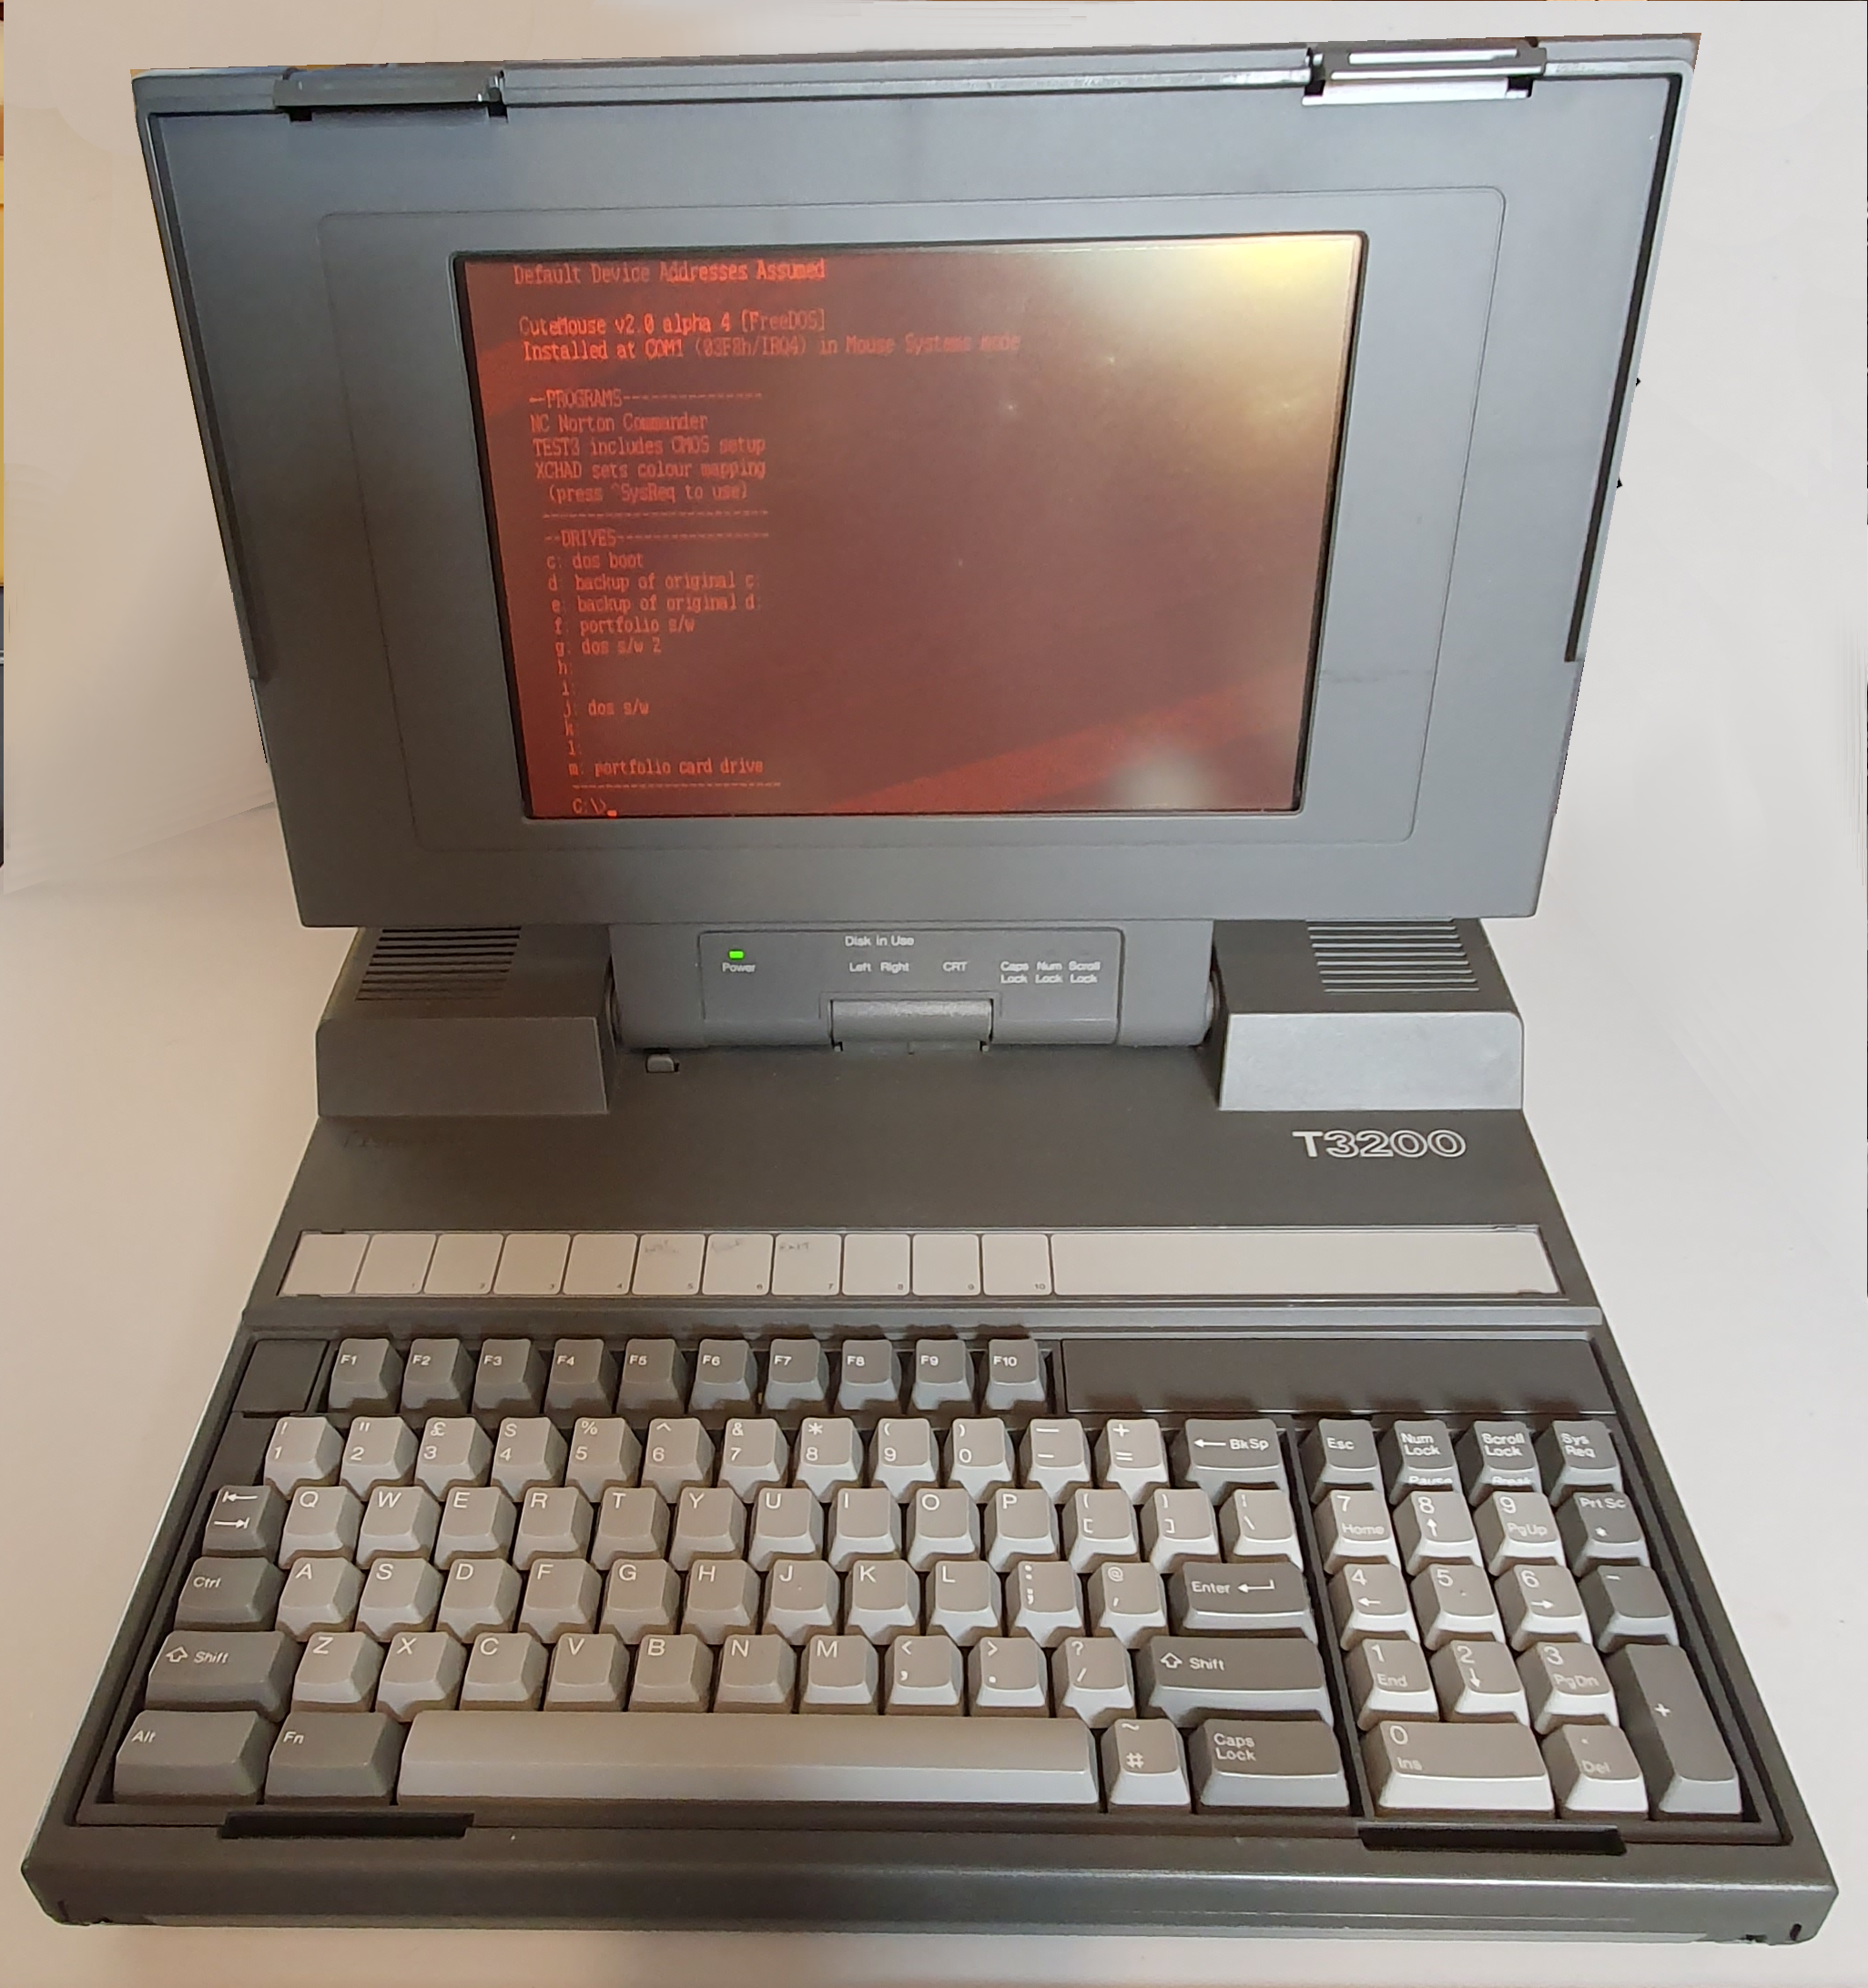
Toshiba T3200
The Toshiba T3200 was released in 1989. It’s more a luggable than a laptop (it could crush your legs). In fact it’s more of a desktop replacement really as it has no battery, and thus requires mains power to run.
It sports a gorgeous orange Gas Plasma display and a fantastic full size keyboard.
Hardware
When you switch on the T3200, the first thing you’re drawn to is the gorgeous screen. At the time LCD screens were passive – smeary, ghosty and uneven. This was one of the few non-CRT alternatives. This one has only four shades of orange but there is no smearing, ghosting and the illumination of each pixel is even.
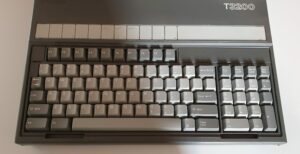
The keyboard might be the next thing you notice. It’s a full size mechanical qwerty with a numeric keypad. There are no dedicated arrow keys, only those on the keypad.
Above the function keys is a plastic strip which can be written on as a reminder of the functions for a specific application.
In the late 1970’s, the 5.25″ floppy disk supplanted the large and unwieldy 8″ disk. It was cheaper and more convenient. In 1982, the Microfloppy Industry Committee (MIC) agreed upon a 3.5″ media specification loosely based on a design from Sony. This became the standard drive in a huge number of computers for the rest of the century and beyond. That includes the T3200.
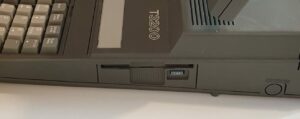
The drive that apparently comes with the T3200 is 720K, mine is 1.44M. The interface on the drive is not the common 34-pin one, instead it’s shorter at 26-pins. These are not unheard of, just not as common, even in laptops.
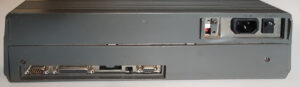
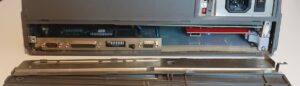
Around the back we have the usual ports – RS-232 serial, centronics parallel, VGA. There’s also a 3-position switch and some dip-switches.
The switch changes the mode of the parallel port to allow an external floppy, rather than a printer, to be plugged into the parallel port (as drive A or B – the internal drive being the other). The dip switches can be used to set the serial port as COM1: or COM2:, the type of external monitor you want to use, etc.
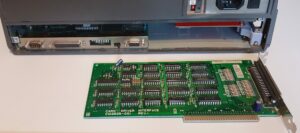
The main reason I purchased the T3200, though, is the two ISA slots. Toshiba is one of the few companies that made machines with ISA slots in them – I mean, machines that aren’t big beige desktop boxes. The T3200 has a full-length 16-bit slot and a half-length 8-bit one.
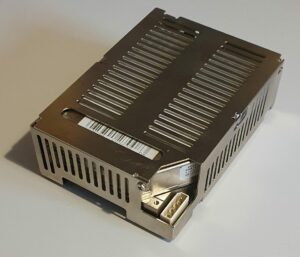
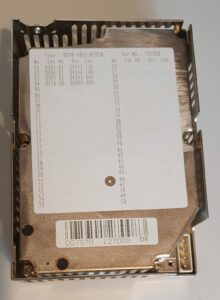
The auction description (yes, eBay again) indicated that the T3200 didn’t boot. From the messages shown of screen in the pictures, I deduced that the hard disk was probably broken. This wasn’t going to be a huge problem since I’d intended to replace it with a Compact Flash card. As it happens the drive booted when I tried it. I guess it got jiggled enough in the post to free it up.
The drive itself is a 40MB one (pretty reasonable for the time) with an interface that I’d not come across before. It’s an MFM (ST-506) type drive with a small 26-pin connector. I didn’t expect to find anything compatible but I had ISA slots!
I bought a Lo-tech XT-CF-lite (rev. 2) ISA card with onboard CF card slot. After some work (see below) it works brilliantly. I made a backup copy of the hard disk and removed it. Despite it being quite heavy itself, it didn’t reduce the weight of the T3200 by much!
Summary
- CPU: 80286 running at 12MHz.
- RAM: 1MB onboard, with custom internal support for additional 3MB.
- Socket for 8MHz 80287 maths co-processor.
- Internal AA rechargeable backup battery.
- Hard disk: 40MB MFM (26pin connector).
- 1.44MB 3.5″ floppy disk drive (default is 720K).
- 2xISA expansion slots (1 full length 16-bit, 1 shorter 8-bit).
- Build-in speaker and basic ‘PC Speaker’ sound.
- RS-232 serial port.
- Centronics parallel port (for printer or external floppy disk drive).
- Gas plasma display – 720×400 pixels, 4 shades of orange, EGA and CGA compatible.
- Full size qwerty keyboard.
- External DIN AT keyboard connector.
- Back configuration dip switches.
- Retractable carrying handle.
Software
Since the T3200 is a DOS compatible machine there’s little to say about the software.
The BIOS ROM is early enough that there is no configuration built-in. You need to use the TEST3.EXE program in order to configure it. There’s not much you can set in there either.
Since the onboard display is EGA compatible (i.e. colour) but can only 4 shades of orange, there is a need to be able to change the assignments for various programs to be able to see them. The XCHAD.EXE program lets you do this. It runs in the background (as a Terminate and Stay Resident program – TSR) and provides a menu via a hot key. It only works in text mode, though. If you’re program is graphical then you’re out of luck. The manual says that you can pass command line options to set it up in advance but I haven’t tried this, and I’m sceptical if it’ll work in graphics mode anyway.
By default it runs MS-DOS 3.3.
Summary
- OS: MS-DOS 3.3.
- Colour palette changer: XCHAD.EXE
- BIOS Configurator: TEST3.EXE
Repairs etc.
When my T3200 arrived I expected it to work for the most part. In accordance with the auction description, the hard drive was likely to be broken though. When I switched it on it all worked, even the hard drive.
The one thing that I did notice, though, was a smell. Not a huge one, not a particularly bad one, but it was there. I decided it would be wise to dismantle the machine and see if I could spot where it was coming from.
While I was going to have to open the T3200, I thought I might as well remove the ISA modem card while I was at it. It was a full length 8-bit card with the phone cable cut off (It wasn’t in a socket). Who uses modems these days anyway, even for retro toys.
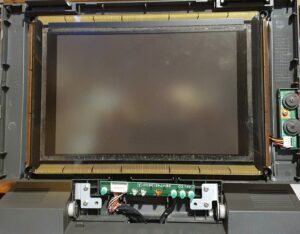
Getting into the T3200 is a pain. You have to remove the keyboard and take the screen off in order to take the top off.
I searched the main board for signs of a leaky battery or broken capacitor. Nothing obvious. The power supply board was next on my list. The PSU is easy to get to – and get into – once you have the top off.
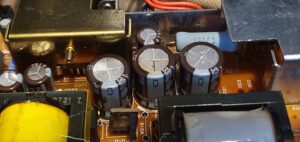
Three large capacitors had started to leak inside it. Despite that it was still working. The leaky caps were smoothing for the 5V output (a lot of smoothing) so I guess there was quite a bit of head room there. They were easy to replace and the board wasn’t hard to clean up from all the capacitor juice.
Inside, there is an AA-size backup battery on a wire – soldered to it. It wasn’t leaky but dead, so I removed it. The positioning of the battery required that the lid was removed to access it, so I replaced it with an AA holder and put it in the gap beneath the keyboard. Now the lid doesn’t need to be removed to replace it.
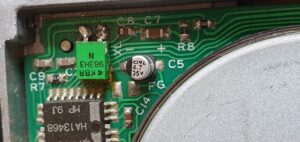
Also the floppy drive only worked once. I tracked the problem to a dodgy capacitor on the sector-0 sense circuit and replaced it. The floppy size detect switch was also broken and the floppy present switch needed some freeing up. Since the size switch was broken, I fixed it at 1.44MB since 720KB is never going to happen anyway. Also some lithium grease was needed on the catch that grabs and spins the disk causing read issues (and that took some detecting).
I also had two old floppy drives and an old PC that has a floppy port on the motherboard. After some messing about with floppy drives on the PC, the purchasing of a USB to floppy connector adaptor and some more messing about with a more modern PC, I gave up and bought a 1.44M USB floppy drive. That took no messing about – even Windows 10 recognised it as soon as I plugged it in!
The IDE-SD interface was more of a challenge… The BIOS expects the onboard drive to always be C: and the SD card drive is then not seen. The XT-IDE Universal BIOS ROM (XUB) on the card shows the SD card it detected but fdisk doesn’t see it. I even bought a number of different SD cards to see if that made a difference (I’d heard that certain SD cards work and others don’t).
That wasn’t the issue, though. I eventually worked out that you can tell XUB which drive to set the SD card as (I guess I should have read the manual).
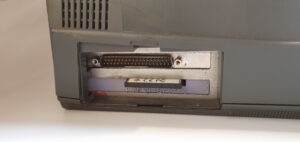
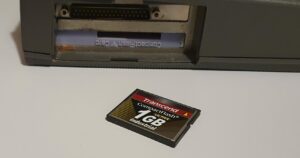
So you have to configure the SD drive to be D: in order to see both drives at the same time. This allowed me to make D: (the SD card) a bootable DOS 3.3 disk. Note that DOS 3.3 had a very limited partition size so I had to make lots of small partitions with fdisk.
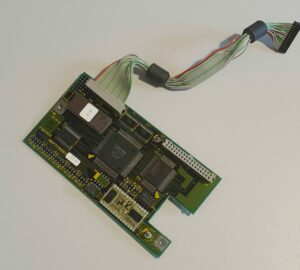
I thought I’d better take a backup of the two partitions on the original hard drive before I went any further.
Once I’d done that I removed it and the controller card (which took some disassembly) and put them somewhere safe.
The BIOS, if you tell it you have a hard drive, always assumes it’s the built-in drive at C: (even if there is no controller). If the drive (or controller) is disconnected then you get an annoying delay on boot and an eventual beep and error message. You have to run TEST3.EXE and tell it that there are no hard drives (it doesn’t consider the SD card to be a hard drive).
I now had a fully functional system (at least I thought I did – see later).
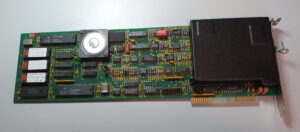
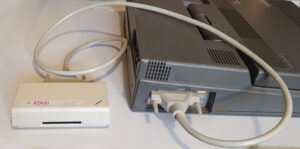
On to the main reason I bought the T3200 in the first place – the portfolio Card Drive (specifically its ISA card) for the Atari Portfolio.
I plugged that into the 16-bit slot (since it was a smidge too big for the 8-bit slot) and installed the software I found online (I think from archive.org). It worked first time.
I also tried Norton Commander (a brilliant piece of software) and Gem (of very limited use since I could only find the built-in applications). Although you can use a keyboard, Gem works far better with a mouse.
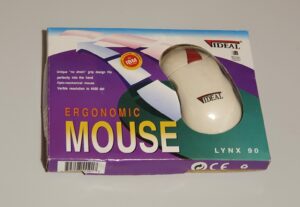
The only mouse I could use would be a serial port one (no other ports and no more ISA slots to add them). I didn’t have a serial port mouse. It happens to be the case that mice around the start of the PS/2 era were compatible with both, through an adaptor. I discovered that all adaptors are not the same. The mouse understands PS/2 and serial protocols and the adaptor is just passive wiring. There is no standard way that this is done, though – a specific adaptor only works with a specific mouse. That cost me a few mice.
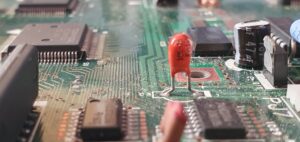
Even with a working mouse there were issues. I tried connecting the RS-232 port to another computer using a breakout I had and an oscilloscope. I discovered that the port was not pulling the output lines low enough. A capacitor on the T3200 main board was shorting the -12V bias voltage. The -12V does not come from the power supply but is generated on the main board. I replaced the cap and the port started working.
I also tried to build a parallel port floppy adaptor but completely failed. I’m not sure why, but since I got the internal drive working reliably I’m not too bothered.
Summary
The T3200 is a 80286 DOS PC. It has a nice keyboard and a nice gas plasma display. It runs in MDA but at only 4 ‘colours’. The XCHAD.EXE program helps, but only with text-based programs. Games tend to either display reasonably well or are unusable. I haven’t tried connecting an external display yet.
The fact that it has two ISA slots is the reason I bought it and I can see then being useful for things like a sound card (although I’d have to swap out the Card Drive interface card to do it).
It’s a much more convenient form factor than a beige desktop box, having the built-in keyboard and screen but it doesn’t run off batteries (so you can’t really call it a laptop). I can store it away easily though, and it is designed to stand upright on it’s back.
To-Do
- Try an external display.
- Keep an eye out for a memory expansion board (which is likely to be very rare).
- Install a 80287 maths co-processor.