
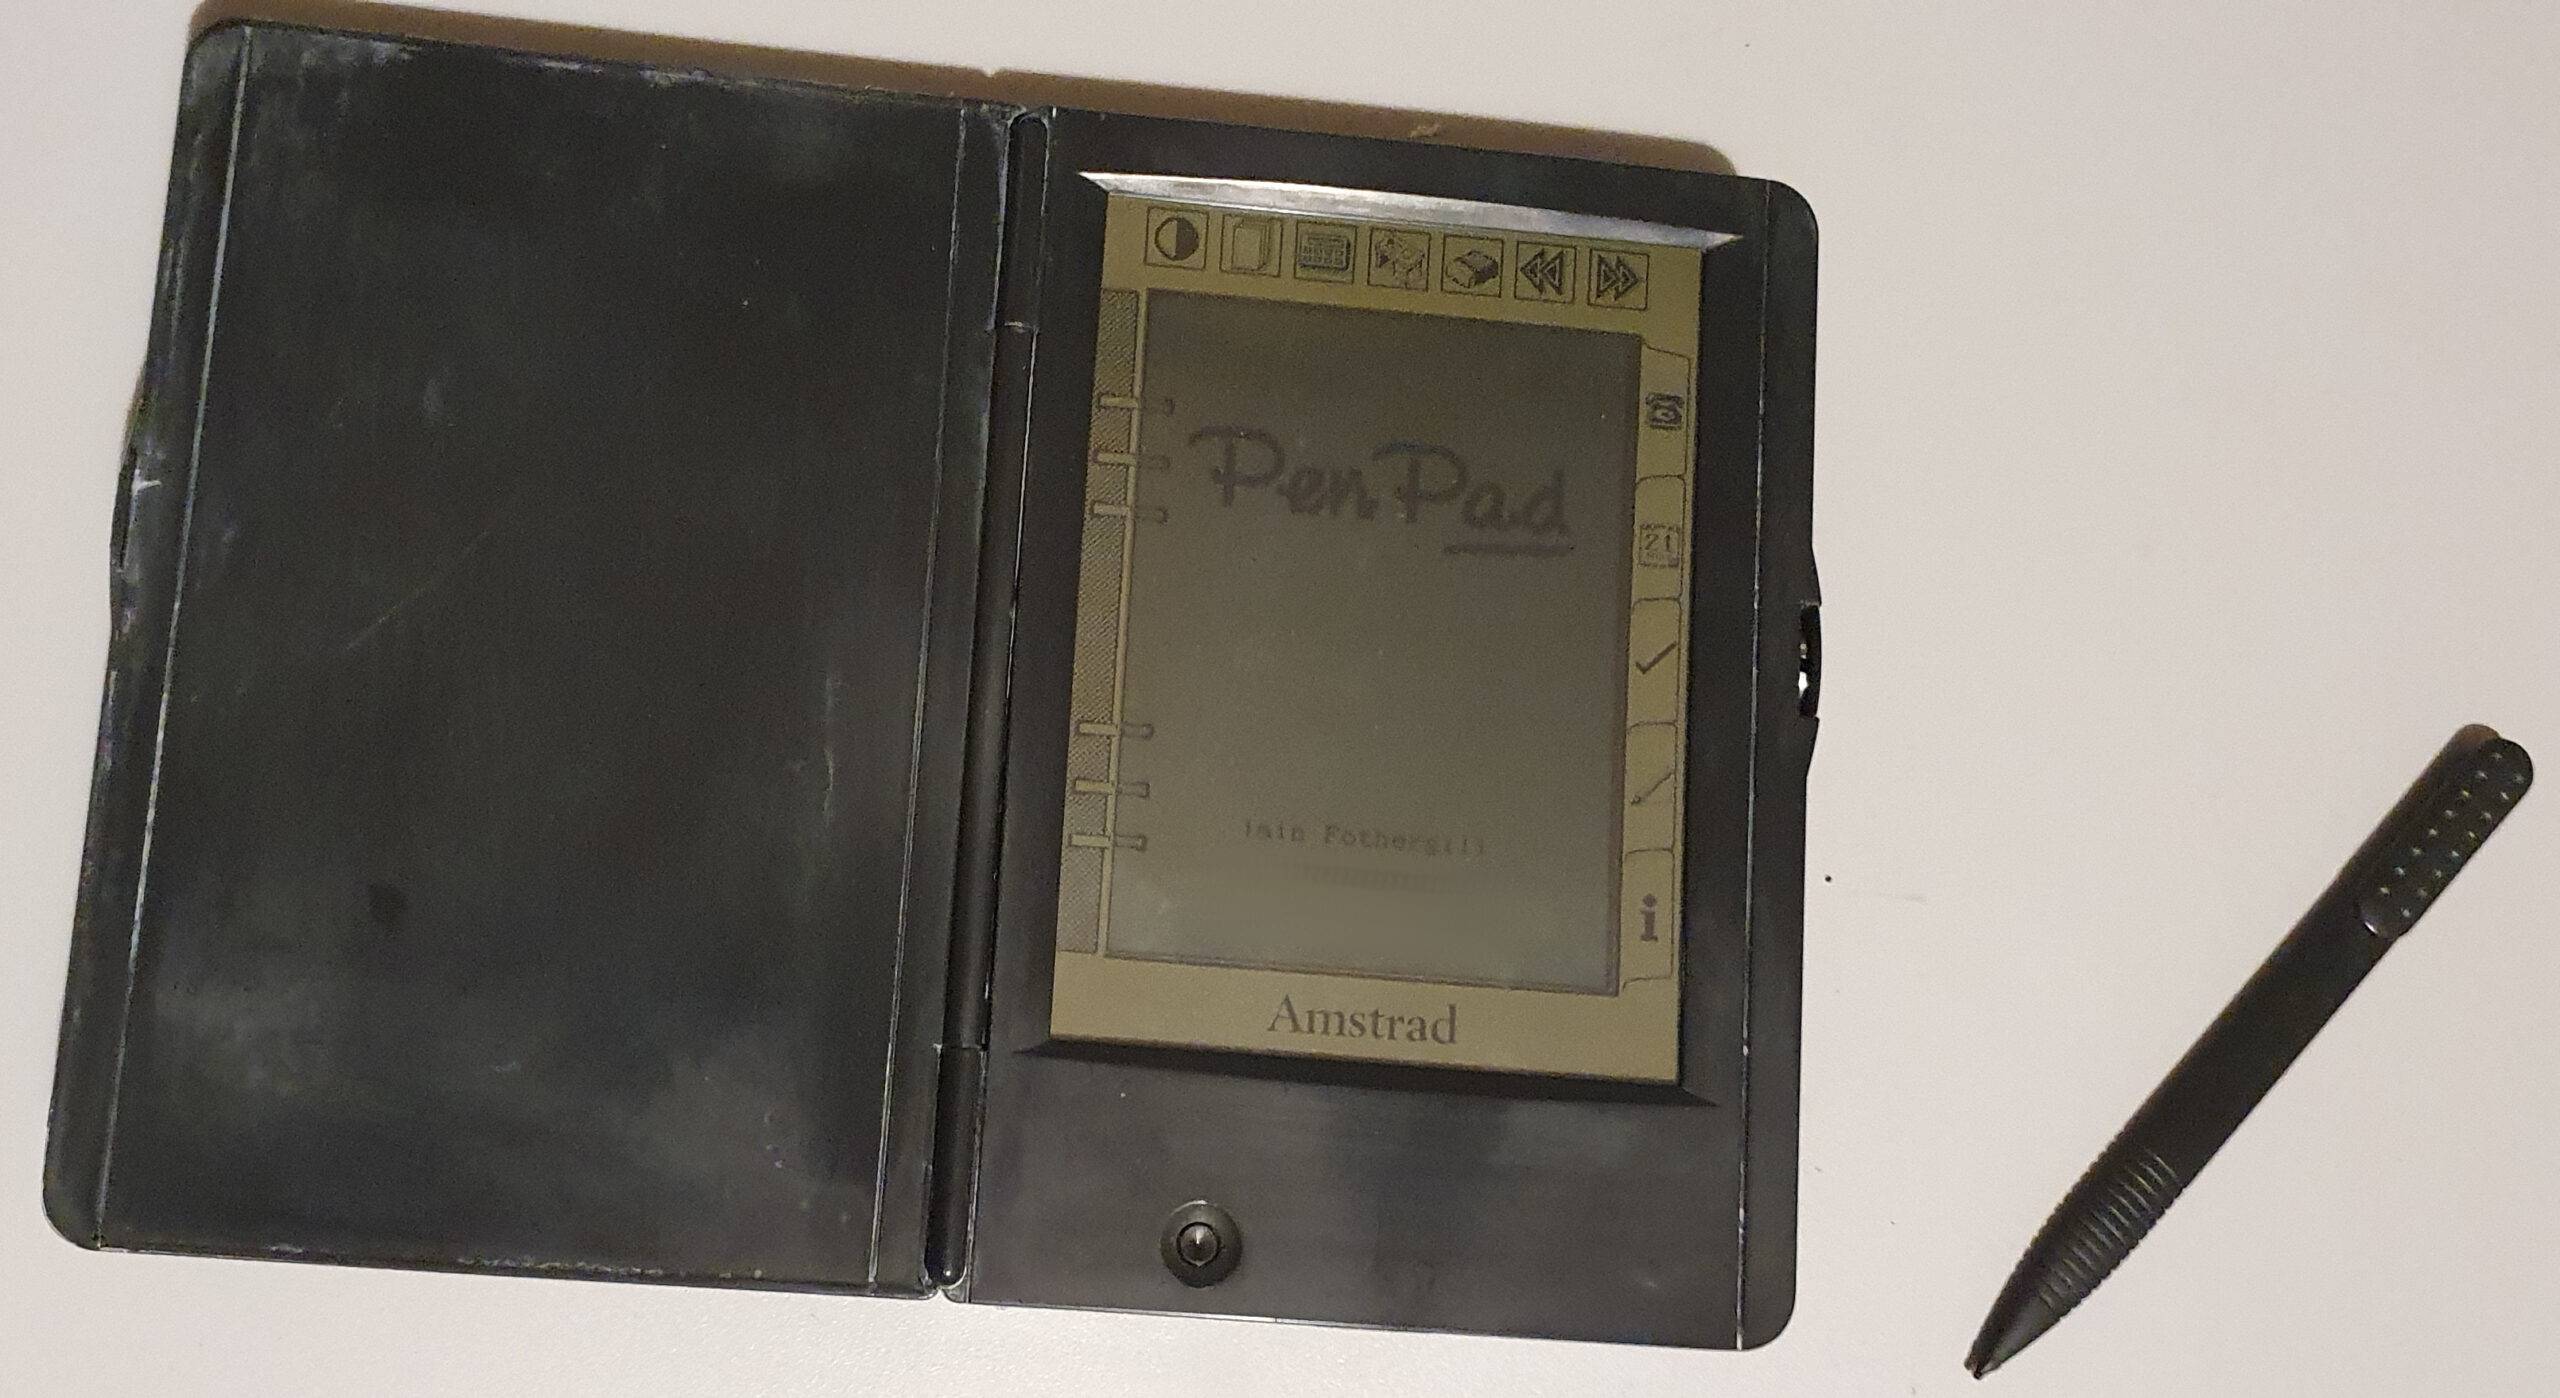
Amstrad Pen Pad PDA600
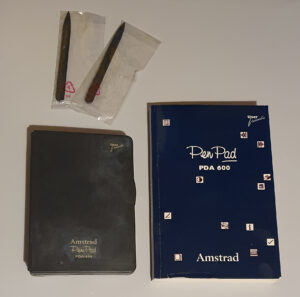
In 1993, Amstrad made an attempt at computerising the filofax – remember those thick paper notepads with diary and address book sections that were so popular amongst yuppies. It’s only input method is by handwriting recognition, and it wasn’t that good at it, although for the time it wasn’t terrible. It did make entering data tedious though.
Hardware
The case is made from hard plastic with a soft rubberised coating. The type that, when the device gets old, turns to horrible black sticky stuff that gets all over your hands. It can be removed with isopropyl alcohol and some patience. The finish will never be the same though.
Power to the Pen Pad is provided by three AA alkaline batteries. There is no external power input. The memory, like many of it’s contemporaries, requires power to be kept alive rather than the flash storage in modern devices. This is provided by a CR2032 cell.
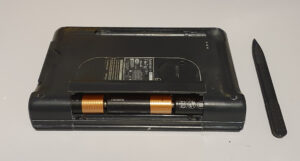
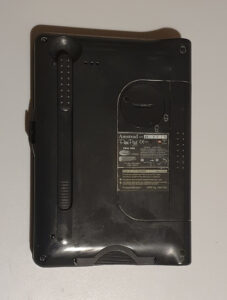
On the back, as well as the battery compartments, is a clip holder for the stylus. It’s oddly shaped, almost hemispherical, which gives it a strange feeling. It isn’t terrible, just odd.
In the box are a couple of spares in case you lose one. It’s a fairly robust clip, so you’d have to be quite deliberately careless to lose one.
By default, the Pen Pad has 128K of memory. The manual says this gives about 300 full addresses or 6,000 diary entries. You can expand this with a PCMCIA RAM card. Only cards up to 2Mb can be used.
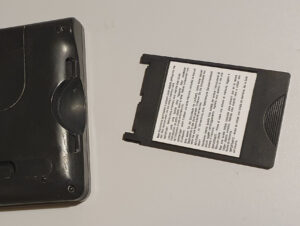
Use of cards is quite limited, however:
- You can tell the Pen Pad to use internal or external memory – not both at the same time.
- You can copy from internal to external storage – not the other way around.
- If you switch back to internal, you’ll get your old data back with no changes after you switched to external.The two stores are completely separate.
According to Wikipedia, there were expansion cards available that add software to the Pen Pad over the default PDA functions, but I’ve not come across this.
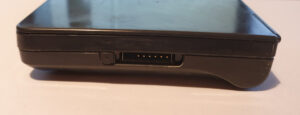
One final feature of the Pen Pad is the serial port. It’s a simple set of 1/10th of an inch pins, (similar in size and spacing to those of a floppy disk drive, or the GPIO pins of a Raspberry Pi). Electrically it’s compatible with RS-232, and the manual explains how to wire up your own cable. It doesn’t tell you anything about the software protocol though.
Summary
- CPU: 20MHz Zilog Z180.
- RAM: 128K.
- Screen: 240 x 320 pixel, monochrome LCD with resistive touch digitiser.
- Batteries; 3x AA main with CR2032 backup.
- Proprietary serial port (pinout in manual).
- PCMCIA memory expansion port (for 32K to 2M RAM cards, possibly for extra software).
Software
The Pen Pad was an obvious attempt by Amstrad to create a skeuomorphic electronic filofax.
Skeuomorphism is an attempt to recreate something maintaining design cues from that which it replaces (Wikipedia has a page on it).
- This starts with the hard cover, giving the device a book-like feel.
- All input is done with the stylus, most importantly all entries are hand written (and only hand written!).
- Switching between the main tasks is done by tapping on tabs on the right hand edge of the screen. The tabs are: Address book, Diary, To-Do, Notes and Information (conversions).
- To delete a page (e.g. an address), one taps the binding “ring” to get a smaller image of the whole page being removed, then the page is dragged off the screen to “throw it away”.

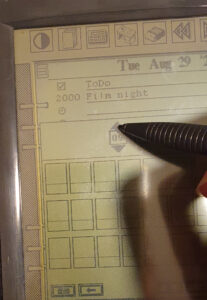
When first started, the Pen Pad requests the time and date, touch screen calibration and then requires that every letter and number be written out (in upper- and lowercase). Each has to be written within it’s own box – all character entry is done like this. It’s quite time consuming. Even though you’ve done all this, you’ll probably need to correct many entries – you can do this with up to four variations of each. It’s recognition does get better as you do this more and more, but it’s far from perfect. What’s really irritating is that there is no on-screen keyboard! All entry has to be hand written. The touch screen is very responsive though.
Not surprisingly, the Pen Pad software is all designed around simple filofax functionality.
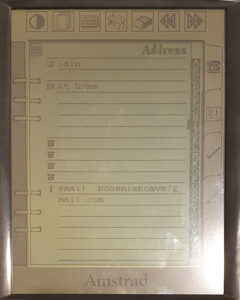
Tapping on the topmost tab takes you to the Address Book. It’s pretty unremarkable. You only have a fixed set of fields that you can use: name, address, four different phone numbers and other information. Names get filed under first letter for quick access, you can move between entries one at a time and you can perform a free text search (from the Search icon under the Desk button at the top).
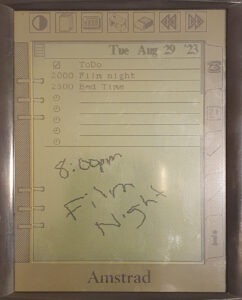
The second tab takes you to the diary.
At first glance, the diary is very simple. You can place entries under a specific time on a specific date and you can add scribbled notes at the bottom of a day’s entries.
You can add repeating entries or anniversaries (or birthdays etc.) from one of the Desk items (see below). There are no alarms on diary entries though.
There are alarms however (limited in number) available from another icon under the Desk menu (see below).
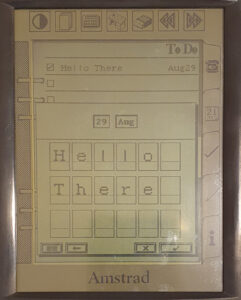
The to-do list is next on the tabs.
You need to specify a date against each to-do. This date will then be used to provide a note on that day’s diary page which you can tap on to get that to-do entry.
As always for these things you can tap to tick the item off.
On the diary page, only the text “To Do” is shown.
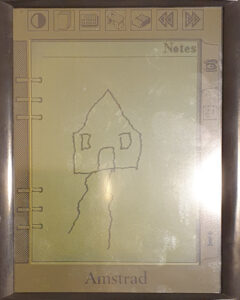
The fourth tab down on the right can be tapped to take you to a blank page on which you can scribble to your hearts content.
You can remove and throw away the page when done, or you can switch to the eraser to delete lines you have drawn.
Another page can be added or you can switch between pages.
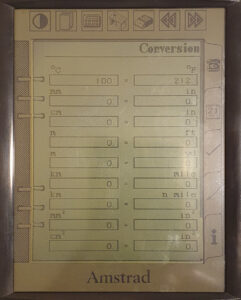
The bottom-most tab takes you to the information screen – this is what the manual calls it but it’s really just a units converter.
This doesn’t really warrant a tab of its own – I think there are better candidates, like the calculator. Maybe they were going for another skeuomorphism – filofaxes tended to have a couple of pages at the back for conversion tables and such.
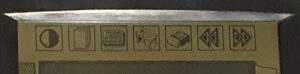
At the top are a set of fixed buttons: contrast, new page, calculator, desk, erase, previous and next page.
The most obvious buttons would be the right-most two: next and previous page. These just move forward or back one entry in whichever section you are in (address book, diary etc).
The erase button (3rd from the right) is only really useful when making notes – it allows you to remove your scribblings like a pencil eraser would.
The new page button (2nd from the left) creates a new to-do, diary entry or address.
The contrast button (leftmost) is surprising in that tapping the light half and dark half alter the contrast in opposite directions.
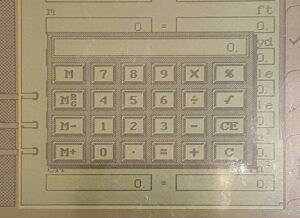
The third most button from the left brings up the calculator.
It’s one of the few features that doesn’t require you to enter data (in this case numbers) with handwriting.
The only feature that this calculator has is a memory. It doesn’t even do square root or %age.
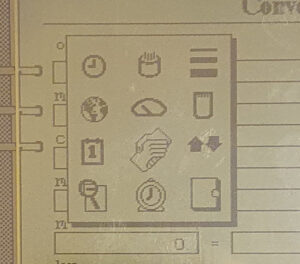
The last remaining button is the Desk button. This brings up a menu of a few utilities and settings. These are: set time, set anniversary (appears in diary), set line thickness, view world times, gauges (memory and battery usage), card operations, set date, set repeating diary appointments, send or receive over the serial port, search, set alarms, Organiser (settings page).
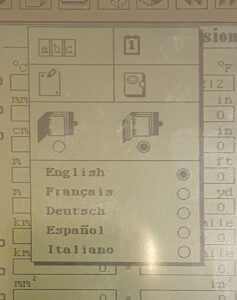
The settings, known as the Organiser in the manual, allows you (in turn) to: change your handwriting style (just like at startup); set the date (tediously by month) but not the time (that’s done from the top Desk menu); recalibrate the touch screen; set the owner’s name and telephone number; set whether to start from the beginning every time you switch the pen pad on, or resume where you left off; and finally, set the language.
Summary
- Address Book (with fixed fields)
- Diary (with repeats and anniversaries)
- To-Do (each is associated with a date)
- Notes
- Information (conversions)
- Calculator
- Limited alarms
Summary
The pen pad is clearly meant to mimic a filofax. Functionality is fairly rudimentary at first glance, but hidden away under the Desk menu are a few useful extras, like anniversaries (e.g. birthdays) and repeating entries for the diary.
Drawn or hand-written notes can be taken (stored as images) which could be useful, but all textual input has to be hand-written. This has to be done by writing each letter in a small box on the screen. The recognition is not the best and needs a lot of correcting. The device can remember up to four examples of each character the way you write it, but even so it tends to guess an annoying number of them wrong. Correcting its learned characters can improve its hit rate, but this is tedious. An on-screen keyboard would be a great addition, but such an addition is sorely missing.
Repairs etc.
The first problem with all of these machines is the sticky black goo on the case. It’s everywhere. You can remove it quite easily with isopropyl alcohol but it can take some time and the results are not perfect (but a million times better – gloves are no longer needed).
The first pen pad I bought also turned out to have a bad touch screen digitiser. It worked, but had issues as though it had been hammered in a couple of spots, making handwriting even worse (yes it’s possible).
Another one, with a box and manual, came up on eBay for a good price, so I bought that. It wasn’t functional, but after swapping over the digitisers, I have one good one and one completely broken one. And a box and a manual.
To-Do
- Make a serial lead (it’s in the manual) and test it out, although I have no idea what the protocol is likely to be (so I might not bother).